


Organizing a Pencil Pouch: An Artist's Essential Method
TL;DR
Organizing a pencil pouch for artists is a methodical process that transforms chaos into creative readiness. The core steps involve completely emptying the pouch, sorting all tools by function (like drawing, coloring, and erasing), and decluttering any broken or unnecessary items. Once sorted, strategically arrange your supplies using small containers, elastic bands, or internal dividers to maximize space and ensure your most-used tools are always within easy reach.
The Foundation: Emptying and Sorting Your Supplies
The first step toward a perfectly organized pencil pouch is creating a clean slate. It’s impossible to organize clutter, so beginning by emptying everything is a non-negotiable foundation for success. Lay out every single pen, pencil, eraser, and accessory on a flat surface. This initial action gives you a complete inventory of what you own, often revealing long-lost favorites and unnecessary duplicates.
Once everything is visible, the next phase is to categorize your tools. Grouping items by their function is the most logical approach for an artist. This creates intuitive zones that align with your creative workflow. Think in broad categories first, then break them down further if needed. This process helps you see exactly what you have and how it all fits together in your artistic practice.
A few examples of effective categories include:
Drawing Tools: Graphite pencils, charcoal sticks, mechanical pencils, and fineliner pens.
Coloring Tools: Colored pencils, markers, watercolor brushes, and paint pens.
Correction & Shaping Tools: Various erasers (kneaded, vinyl), blending stumps, and sharpeners.
Miscellaneous Supplies: Rulers, craft knives, glue sticks, paper clips, and washi tape.
With your supplies sorted, the crucial step of decluttering begins. This is where you make deliberate choices to streamline your kit. Test every pen and marker to see if it has dried out. Inspect pencils for breakage. Ask yourself if you truly need multiple versions of the same tool. As advised in a guide by Rustic Town, removing items you rarely use is key to maximizing space for your essentials. This isn't about getting rid of supplies, but about curating a portable toolkit that is efficient and purposeful.
To put it all into action, follow this simple process:
Empty All Contents: Take everything out of your pencil pouch and wipe the interior clean.
Create Category Piles: Group similar items together based on their function.
Test Every Tool: Check each pen, marker, and pencil to ensure it's in good working order.
Declutter with Purpose: Discard or store elsewhere any broken, dried-out, or non-essential items.

Strategic Placement: Maximizing Space and Accessibility
After sorting and decluttering, the next challenge is strategically placing everything back into your pouch. The goal is to maximize every inch of space while keeping your most important tools accessible. This is where you can get creative with 'zoning' your pencil case. Think of it as designing a tiny, portable studio where every item has a designated home, a concept emphasized by a guide from Smart.DHgate.
One of the most effective techniques is using smaller containers or pouches within the main case. This prevents tiny items like erasers, sharpeners, and clips from getting lost at the bottom. Elastic loops, often built into pencil cases, are perfect for securing individual pens and pencils, protecting their delicate tips and preventing them from rattling around. Vertical storage is another key principle; arranging items upright makes them easier to see and grab, reducing the time you spend digging for the right tool.
Your personal workflow should dictate your organization strategy. Some artists prefer to arrange their supplies by color, which is visually inspiring and helpful for specific projects. Others find organizing by tool type to be more practical for a varied practice. As noted in an extensive organization project by Hop-A-Long Studio, understanding your creative habits is essential to building a system that lasts. There is no single right way; the best system is the one that makes your process feel seamless.
| Method | Best For | Pros | Cons |
|---|---|---|---|
| By Tool Type | Artists using a variety of media | Efficient for finding specific tools quickly; logical workflow | Less visually cohesive; can be harder to match colors |
| By Color | Artists focused on illustration or coloring | Aesthetically pleasing; easy to create color palettes | Can be slower to find a specific type of pen or pencil |
To further enhance your setup, consider these space-saving hacks:
Use mini pouches or old mint tins for small, loose items.
Wrap delicate pastel or charcoal sticks in foam or tissue paper for protection.
Place heavier or less-frequently used items at the bottom of the pouch.
Utilize mesh pockets or interior flaps for your most-used tools.
Choosing Your Gear: The Best Pencil Cases for Artists
The pencil case itself plays a massive role in your ability to stay organized. The right case provides the structure you need, while the wrong one can quickly become a bottomless pit. The market offers a variety of designs tailored to different artistic needs, from compact pouches for urban sketchers to large-capacity cases for studio artists. Understanding the primary types can help you make an informed decision that supports your creative habits.
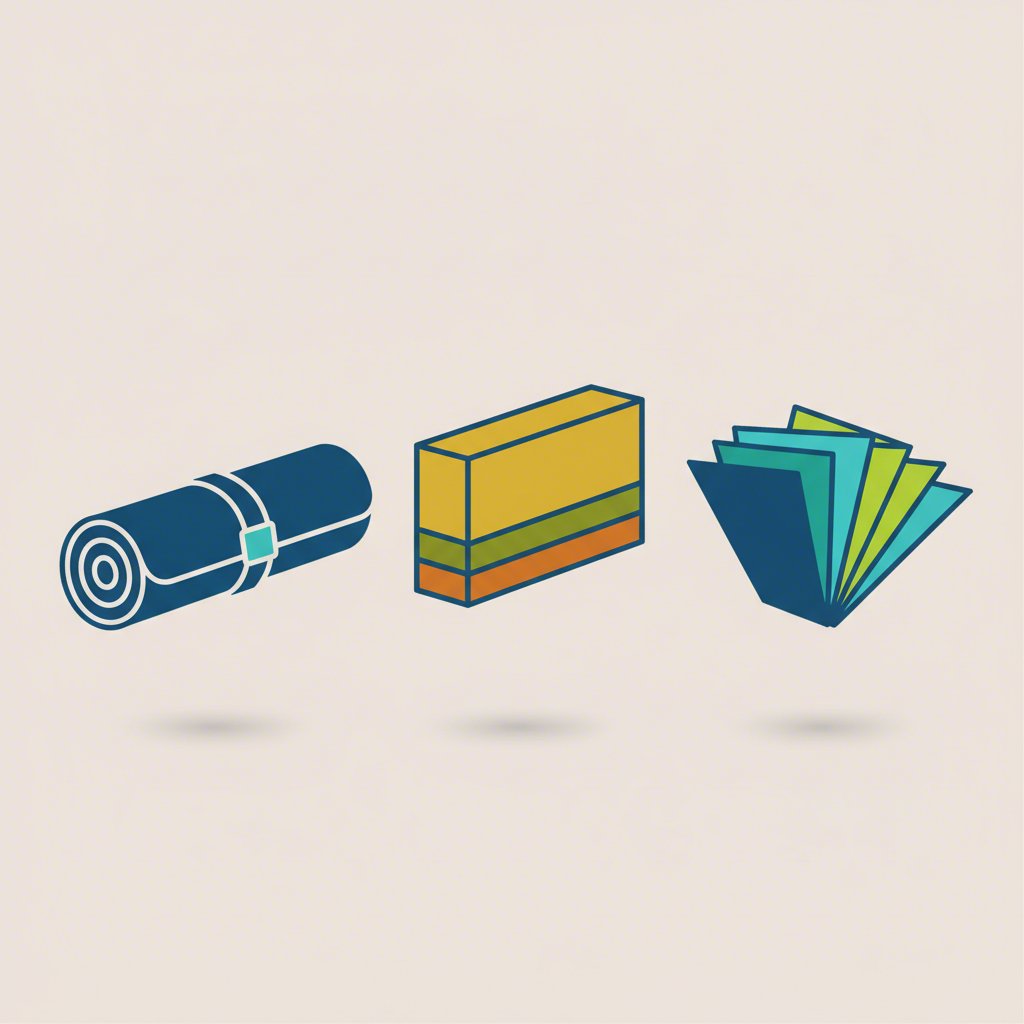
Multi-compartment cases are excellent all-rounders, offering dedicated pockets, zippers, and loops to separate different categories of supplies. For artists who value portability and quick access, roll-up cases are a fantastic choice, laying all your tools out flat when open. Hard shell cases provide superior protection for fragile items like mechanical pencils or fountain pens. For artists with extensive collections, large-capacity cases, which can hold hundreds of pencils, offer a comprehensive storage solution.
For those looking for personalized solutions, especially for art classes, corporate branding, or promotional events, exploring custom options can be a great path. Companies like Bincai International specialize in custom mesh pencil pouches, offering wholesale and OEM services to create durable, branded cases tailored to specific needs. This can be an ideal solution for ensuring a group has a consistent and functional art kit.
| Case Type | Best For | Capacity | Protection Level | Portability |
|---|---|---|---|---|
| Multi-Compartment | General use, variety of supplies | Medium to Large | Moderate | Good |
| Roll-Up Case | Urban sketchers, plein air artists | Small to Medium | Moderate | Excellent |
| Hard Shell Case | Protecting fragile or expensive tools | Small to Medium | Excellent | Good |
| Large Capacity Case | Studio artists, large collections | Very Large | Good | Moderate |
Before you purchase a new case, ask yourself these key questions to clarify your needs:
What are the core tools I need to carry with me every day?
Do my supplies include fragile items that require extra protection?
How important is portability versus capacity for my typical workflow?
Do I prefer to see all my tools at once, or are separate compartments better for me?
Long-Term Order: Maintaining Your Organized Pouch
Achieving an organized pencil pouch is a great accomplishment, but the real challenge is maintaining that order over time. Organization is not a one-time event; it's an ongoing practice. A little regular maintenance can prevent your perfectly curated kit from reverting to a chaotic junk drawer. The key is to build simple habits that keep your system running smoothly.
Set aside a few minutes on a regular basis—perhaps once a month—to perform a quick reset. Empty the pouch, wipe it down, and put everything back in its designated spot. This is also the perfect time to check your supply levels. Sharpen any dull pencils, test your pens to make sure they haven't dried out, and restock any items that are running low. This proactive approach ensures you are always prepared for a creative session.
Avoiding common pitfalls is just as important as active maintenance. One of the biggest mistakes is overcrowding. It’s tempting to add a new pen or marker, but stuffing your case too full can damage your tools and make it impossible to find anything. Be mindful of what you truly need to carry with you and store the rest elsewhere. Similarly, having a clear cleanup strategy prevents pigment dust and graphite shavings from staining your supplies and the case itself.
To help you stay on track, follow this simple maintenance checklist:
Monthly Reset: Empty, clean, and reorganize your pouch once a month.
Supply Check: Test all pens and markers, and sharpen all pencils.
Restock Essentials: Replace any supplies you've used up.
Declutter Again: Remove any items you haven't used since the last clean-out.
By transforming organization into a consistent habit, you empower yourself to spend less time searching and more time creating. A well-maintained pencil pouch is more than just a storage container; it's a reliable partner in your artistic journey.
Frequently Asked Questions
1. How to organize a pencil pouch?
To organize a pencil pouch effectively, start by emptying it completely. Next, sort your supplies into logical categories such as writing tools, coloring tools, and correction items. Declutter by removing any broken, duplicate, or rarely used items. Finally, arrange the essentials back in the pouch using compartments, small containers, or elastic bands to keep everything tidy and accessible.
2. How do artists store their pencils?
Artists use various methods to store their pencils depending on their needs. For portability, many use multi-compartment or roll-up pencil cases that protect the pencil tips and keep them organized. In a studio setting, artists often store pencils in their original tins, in upright containers like cups or jars sorted by color, or in large-capacity cases that allow them to see their entire collection at a glance.


 Send Email
 售前客服
售前客服