


Transform Your Plain Pencil Pouch With These DIY Ideas
TL;DR
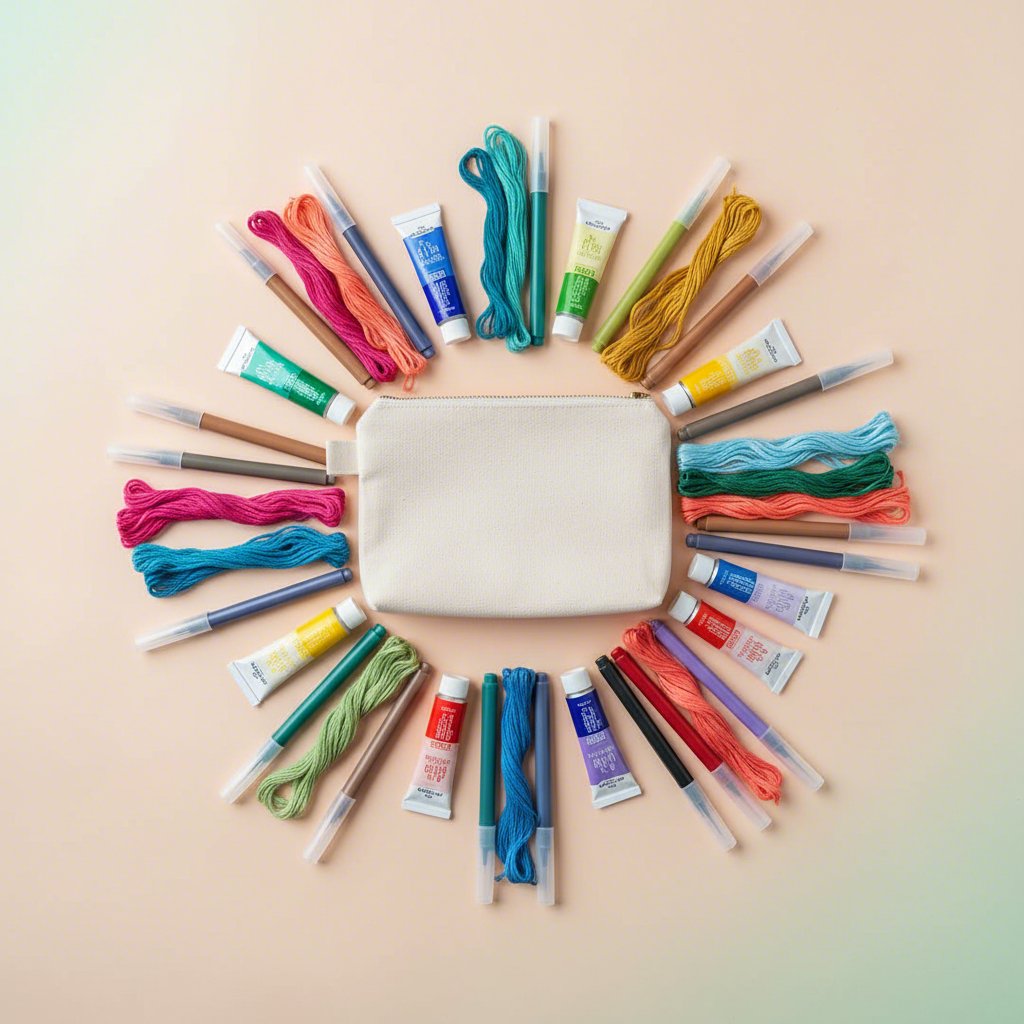
Transforming a plain pencil pouch is a fun, creative project for any skill level. The easiest way to add personality is by drawing directly on the fabric with permanent or fabric markers. For a more painterly effect, acrylic paints and stencils offer endless design possibilities. If you prefer texture, iron-on patches and simple embroidery stitches can add a unique, durable flair. The key to a great result is choosing a decoration method that is compatible with your pouch's material.
Easy, No-Sew Decoration Techniques
Jumping into a craft project doesn't have to be complicated. No-sew techniques are perfect for beginners, kids, and anyone looking for a quick, satisfying way to personalize their supplies. These methods require minimal tools and offer maximum creative freedom, allowing you to turn a simple pouch into a statement piece in an afternoon.
One of the most direct ways to decorate a fabric pouch is with markers and paint. Fabric markers or permanent markers like Sharpies are fantastic for doodling everything from your favorite quotes to intricate patterns. They bond well with most fabrics, ensuring your design lasts. Acrylic inks and paints are also excellent choices, especially on canvas pouches. They are permanent and water-resistant once dry, and you can even use stencils to create crisp, clean shapes or splatter paint for an abstract look.
For an even simpler approach, consider using stickers, gems, or decorative tape. Washi tape can be used to create colorful stripes and patterns, while adhesive gems add a touch of sparkle. These are great options for non-fabric pouches, like those made of plastic or silicone, where paints and markers may not adhere as well.
| Technique | Ease of Use | Permanence | Best For |
|---|---|---|---|
| Fabric Markers | Very Easy | High | Detailed drawings, writing, and doodling on canvas/cotton. |
| Acrylic Paint | Easy | Very High | Creating bold backgrounds, stenciling, and abstract designs on fabric. |
| Stickers & Washi Tape | Very Easy | Low to Medium | Quick, temporary designs on smooth surfaces like plastic or silicone. |
Ready to try it out? Here’s a simple guide to using markers on your pouch, inspired by a fun project from Kids Activities Blog:
Prepare Your Pouch: Place a piece of cardboard cut to size inside the pouch. This creates a smooth, firm drawing surface and prevents ink from bleeding through to the other side.
Sketch Your Design: It's helpful to practice your design on a piece of paper first. You can plan a theme, write your name, or just let your imagination run wild.
Start Decorating: Use your fabric or permanent markers to bring your design to life on the pouch. Take your time and have fun with different colors and patterns.
Let It Dry: Allow the ink to dry completely according to the marker's instructions before removing the cardboard and filling your newly decorated pouch.
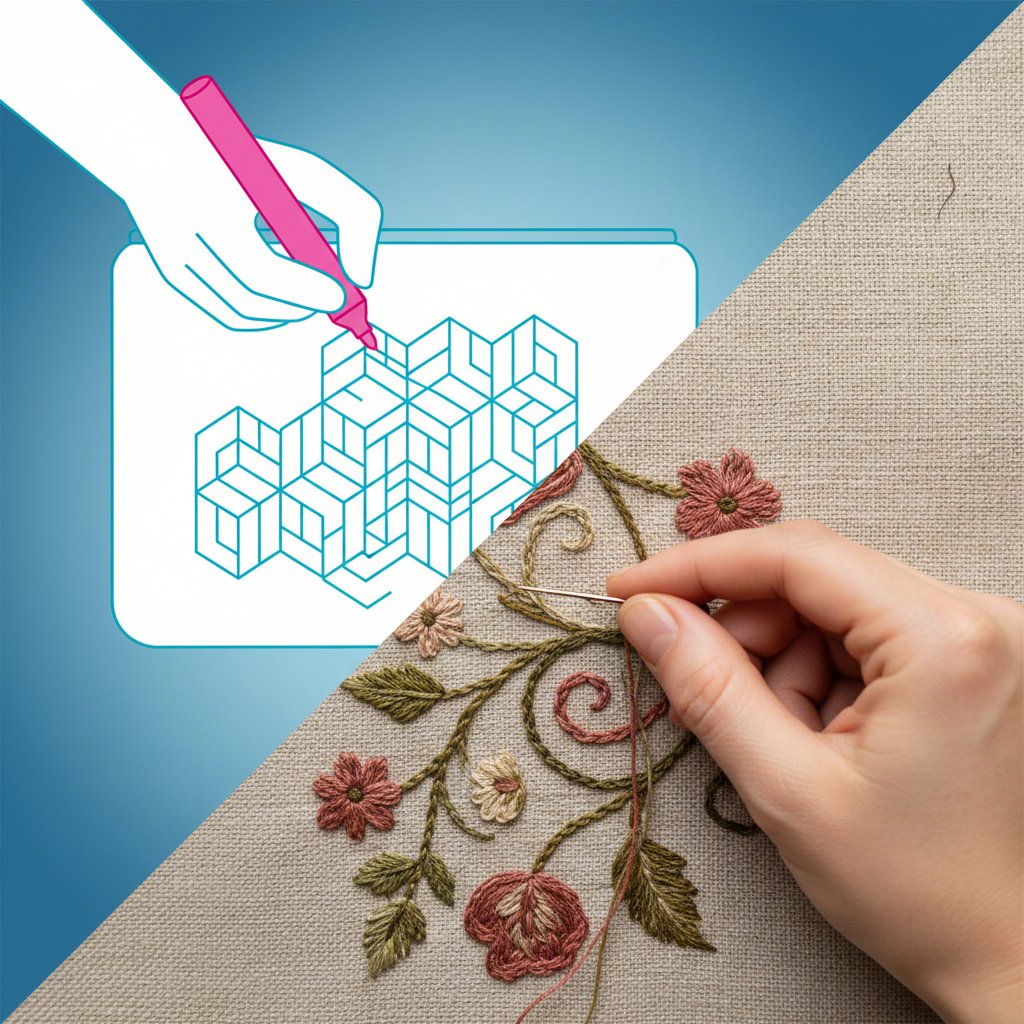
Creative Textile & Fabric Art Methods
If you're looking to add texture and a handcrafted feel to your pencil pouch, exploring textile arts is a fantastic next step. Techniques like applying patches or adding simple embroidery can elevate a plain pouch into a durable and unique piece of art. While they may require a bit more time than drawing with markers, the results are incredibly rewarding and surprisingly beginner-friendly.
Iron-on patches are one of the fastest ways to add a bold graphic element. Available in countless designs, from vintage logos to cute animals, they let you show off your personality without needing any drawing skills. Application is straightforward: you simply place the patch, cover it, and press it with a hot iron. For extra durability, especially on a high-use item like a pencil case, sewing a few stitches around the edge of the patch after ironing it on is a great idea.
Embroidery offers a more personal touch, allowing you to stitch names, initials, or simple shapes directly onto the fabric. You don't need to be an expert to get started. A simple running stitch or backstitch using colorful embroidery floss can create beautiful outlines and text. This method works best on fabric pouches made of canvas or cotton that can hold stitches well.
Pros and Cons of Textile Arts
Pros: Highly durable and long-lasting; adds unique texture and dimension; can be used to cover up stains or holes.
Cons: More time-consuming than no-sew methods; requires specific tools like an iron or needle and thread; has a steeper learning curve for complex designs.
Applying an iron-on patch is a perfect entry point into textile customization. Follow these simple steps for a secure application:
Position Your Patch: Lay your pencil pouch on a flat, heat-resistant surface and decide where you want to place your patch.
Heat Your Iron: Set your iron to the temperature recommended for your pouch's fabric. Make sure the steam setting is turned off.
Press the Patch: Place a thin cloth (like a pillowcase or tea towel) over the patch to protect it. Press the iron down firmly on the patch for about 15-30 seconds.
Check and Cool: Lift the iron and allow the patch to cool completely. Gently check the edges to ensure it has adhered properly. If needed, press again for another 10 seconds.
Choosing the Right Pouch & Design for Your Project
The foundation of a successful DIY project is starting with the right materials. The type of pencil pouch you choose will directly influence which decoration techniques will work best and how your final design will look. Matching your creative method to the pouch's material is the secret to avoiding crafting frustrations and achieving a beautiful, long-lasting result.
Canvas and cotton pouches are the most versatile, as their natural fibers readily absorb paints and inks, making them ideal for markers, acrylics, and embroidery. In contrast, synthetic materials like nylon or plastic require a different approach. Paint may not adhere well, so options like durable vinyl stickers or attached charms might be better. For bulk projects, promotional events, or a unique starting point, some companies specialize in customizable options. For instance, Bincai International offers custom mesh pencil pouches that provide a great surface for printed logos and designs, perfect for groups or businesses.
Once you have your pouch, it's time to brainstorm a design. Think about your personal style. Are you drawn to minimalist geometric patterns, colorful floral motifs, or characters from your favorite show? Websites like Pinterest are a great source of inspiration. Consider your audience too—a design for a young student might be bright and playful, while an artist or professional might prefer something more subdued and abstract.
| Pouch Material | Recommended Techniques | Things to Avoid |
|---|---|---|
| Canvas/Cotton | Fabric Markers, Acrylic Paint, Embroidery, Iron-On Patches | Most techniques work well; test markers on a hidden spot to check for bleeding. |
| Nylon/Polyester | Iron-On Patches (at low heat), Some Fabric Paints | Permanent markers may bleed or not adhere well; high heat from an iron can melt the fabric. |
| Silicone/Plastic | Vinyl Stickers, Adhesive Gems, Charms | Paint, markers, and sewing will not work on these non-porous surfaces. |
Before you begin, run through this simple pre-project checklist to ensure you're fully prepared for a smooth and enjoyable crafting session:
Choose Your Pouch: Select a pouch made from a material that suits your desired decoration method.
Finalize Your Design: Sketch out your idea on paper so you have a clear plan.
Gather Your Supplies: Collect all the markers, paints, patches, or other tools you'll need.
Prepare Your Workspace: Protect your table from spills and have your pouch cleaned and ready.
Insert a Barrier: If using markers or paint, place a piece of cardboard inside the pouch to prevent bleed-through.
Frequently Asked Questions
1. How do I decorate a pencil pouch?
There are many fun ways to decorate a pencil pouch. For fabric pouches, you can use fabric markers or acrylic paint to draw designs. Iron-on patches are great for adding bold graphics, and simple embroidery can add a personal touch. For plastic or silicone pouches, adhesive vinyl stickers and decorative washi tape are excellent choices.
2. How can I paint a pencil pouch?
To paint a pencil pouch, start with a clean canvas or cotton pouch and acrylic paints or fabric paints. You can sketch a design with a pencil first, then fill it in with color. Using stencils can help create clean lines and shapes. Always place a piece of cardboard inside the pouch to prevent the paint from bleeding through, and let it dry completely before use.


 Send Email
 售前客服
售前客服